Installing and Configuring Cisco Jabber on a Mac
Cisco Jabber allows you to communicate with others using text, voice, and screen sharing. This guide will help you download, install, and configure Jabber to work on your personal Windows device
Step 1: Downloading Cisco Jabber
- Navigate to the Jabber for Mac download.
- This will prompt you for a login. Use your NTNET credentials
- Your download should start once you successfully log in.
Step 2: Installing Cisco Jabber
- Once the download is finished, you are ready to install the program.
- Open the downloads icon on the bottom bar
- Click on the Cisco Jabber MAC Install.pkg
- Click through the installer. Screenshots of the process are provided below.

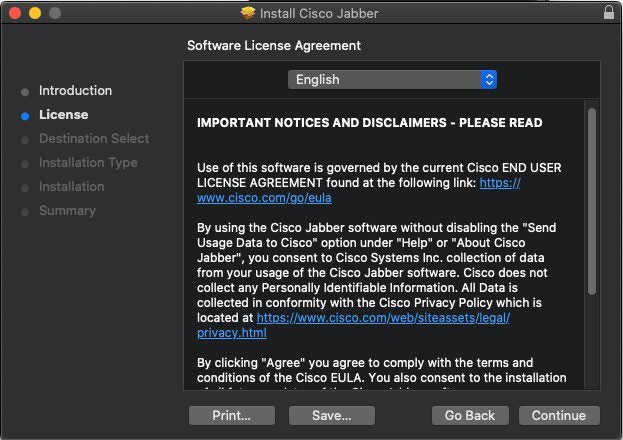
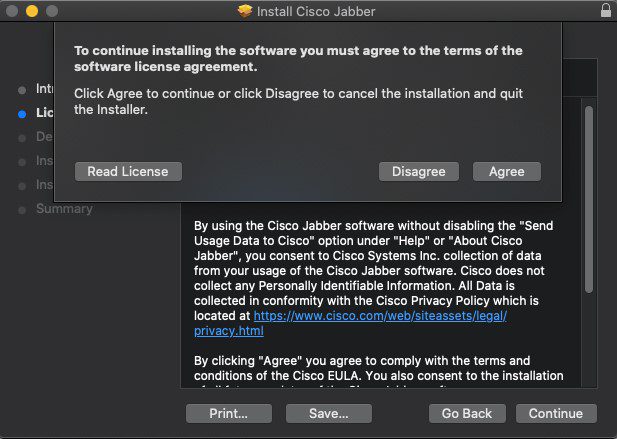
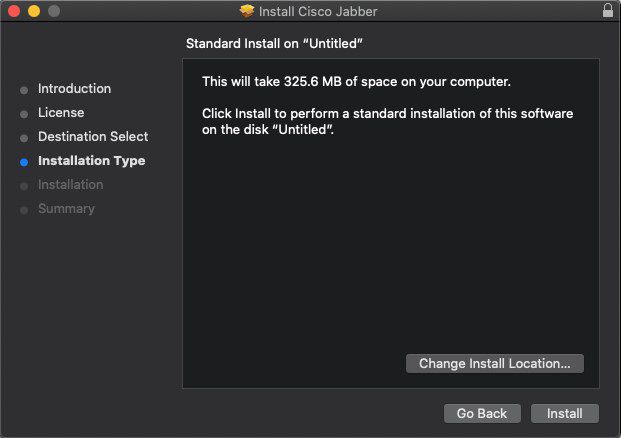
- At this stage, you will be prompted to login. Use your personal Mac login information
Step 3: Configuring and Running Cisco Jabber
- Open the Finder and find Cisco Jabber on the applications list

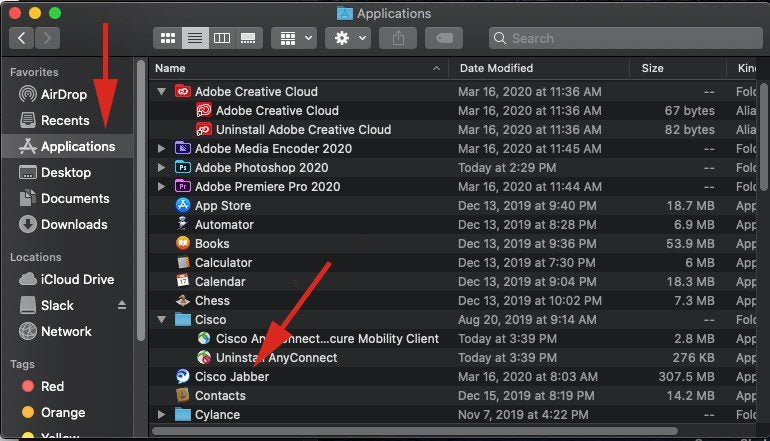
- The first screen you will see is asking for your Tarleton email address
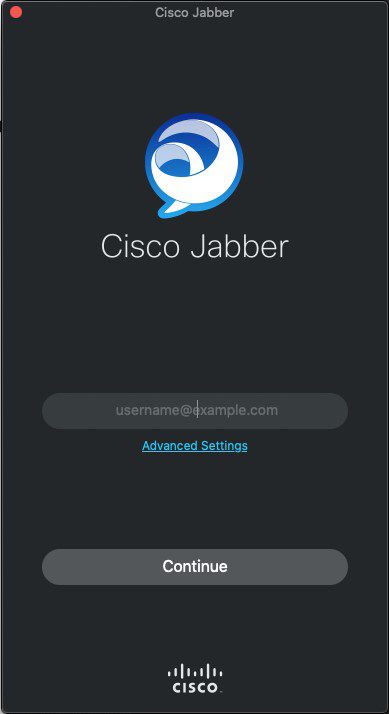
After you enter your email address and hit continue, it will ask for a username and password. Use your NTNET credentials.
- If your login does not work, click the Advanced Settings button and check out the following screenshot:
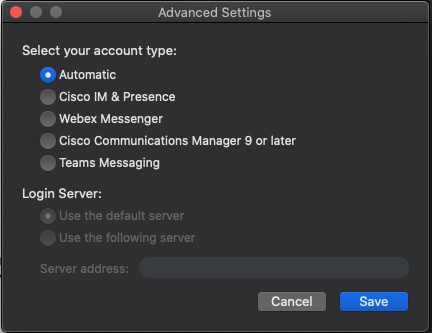
By default, the above settings are selected. If these are not working, choose “Cisco IM & Presence” under Select your account type; and choose “Use the following server” under Login server. Make sure the server address is presence-1.tarleton.edu
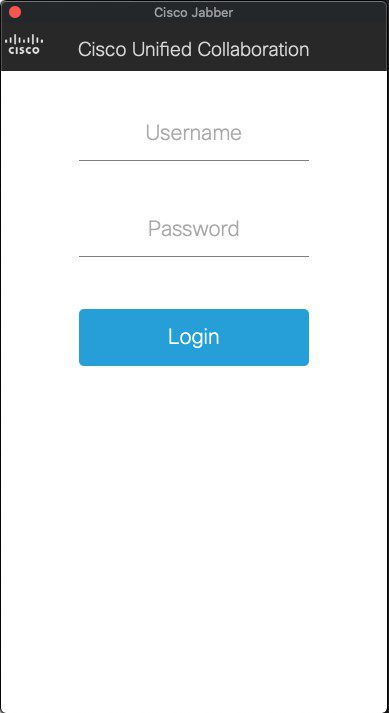
Once you hit Login, you should see the following screen. Once this screen clears, you are logged in to Cisco Jabber.
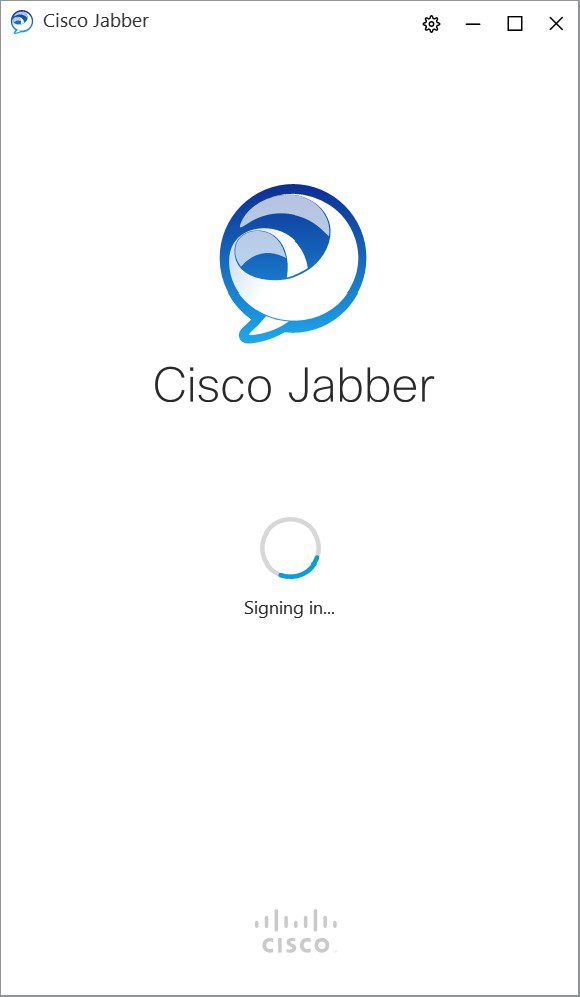
If your computer asks you to adjust settings for Jabber to work, please do so.
For any other questions, please call the Help Desk at 254-968-9885.