Installing and Configuring Cisco Jabber on a Windows PC
Cisco Jabber allows you to communicate with others using text, voice, and screen sharing. This guide will help you download, install, and configure Jabber to work on your personal Windows device
Step 1: Downloading Cisco Jabber
- Navigate to the Jabber download page.
- This will prompt you for a login. Use your NTNET credentials
- Your download should start once you successfully log in.
Step 2: Installing Cisco Jabber
Once the download is finished, you are ready to install the program.
Launch the installer by clicking to run. Example screenshot below if you use:
- Chrome-

- Firefox-
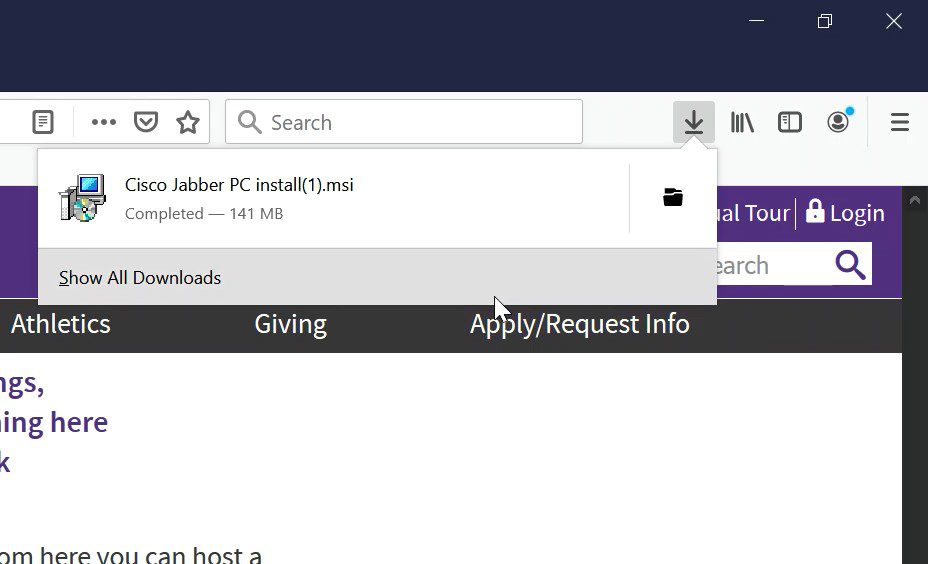
- Once the installer launches, click run
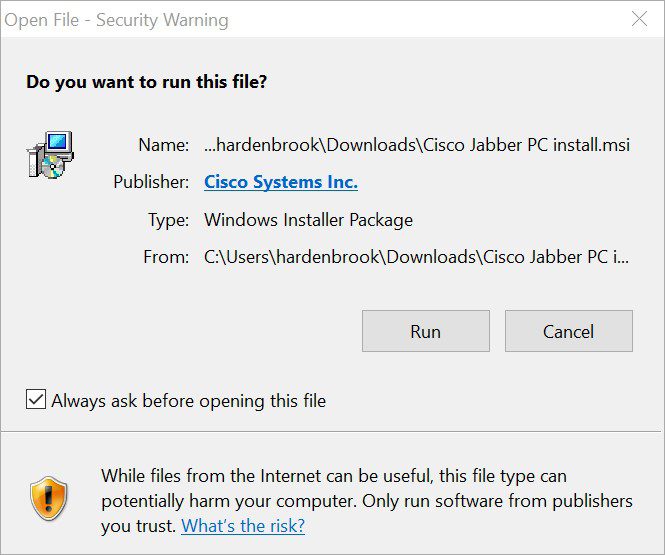
- If asked at any point during the install to allow Cisco Jabber to make changes to your computer, say Yes.


- Once you click finish, the application will launch
Step 3: Configuring and Running Cisco Jabber
- The first screen you will see is asking for your Tarleton email address
After you enter your email address and hit continue, it will ask for a username and password. Use your NTNET credentials.
- If your login does not work, click the Advanced Settings button and check out the following screenshot:
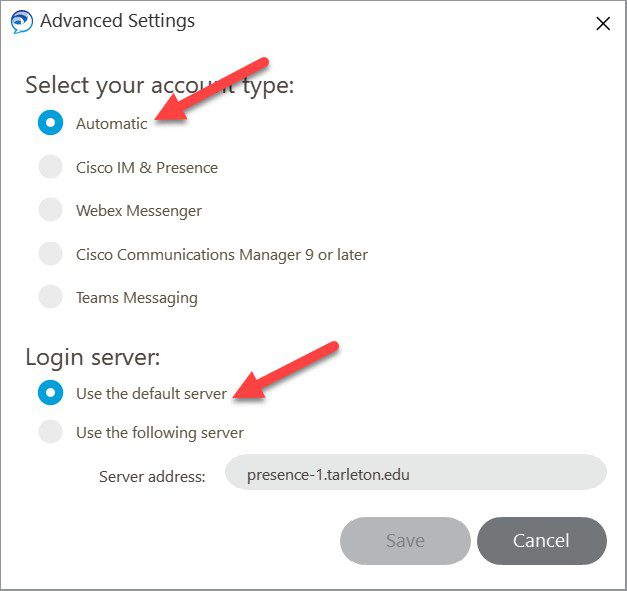
By default, the above settings are selected. If these are not working, choose “Cisco IM & Presence” under Select your account type; and choose “Use the following server” under Login server. Make sure the server address is presence-1.tarleton.edu

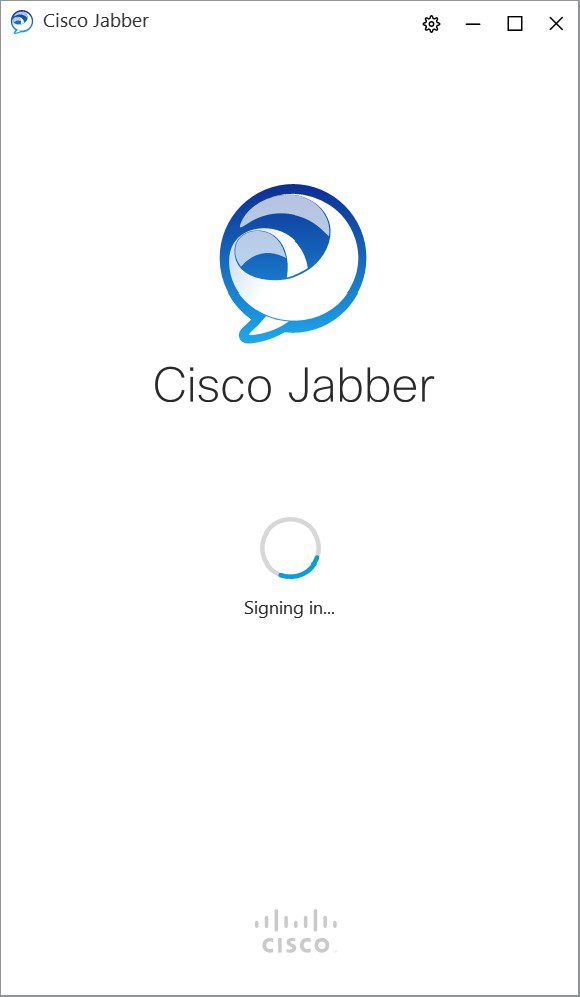
Once you hit Login, you should see the following screen. Once this screen clears, you are logged in to Cisco Jabber.
For any other questions, please call the Help Desk at 254-968-9885.